1.2 Time for Dynamo
Now that you have in your mind the ending point, we can start to “put on the paper” the idea and we can start to build our main section. For this project we’ll use only standard nodes provided by Dynamo installation. All the screenshots are taken from Revit 2017 and Dynamo 1.0.0 but you can easily apply this workflow to previous versions of Revit and Dynamo.
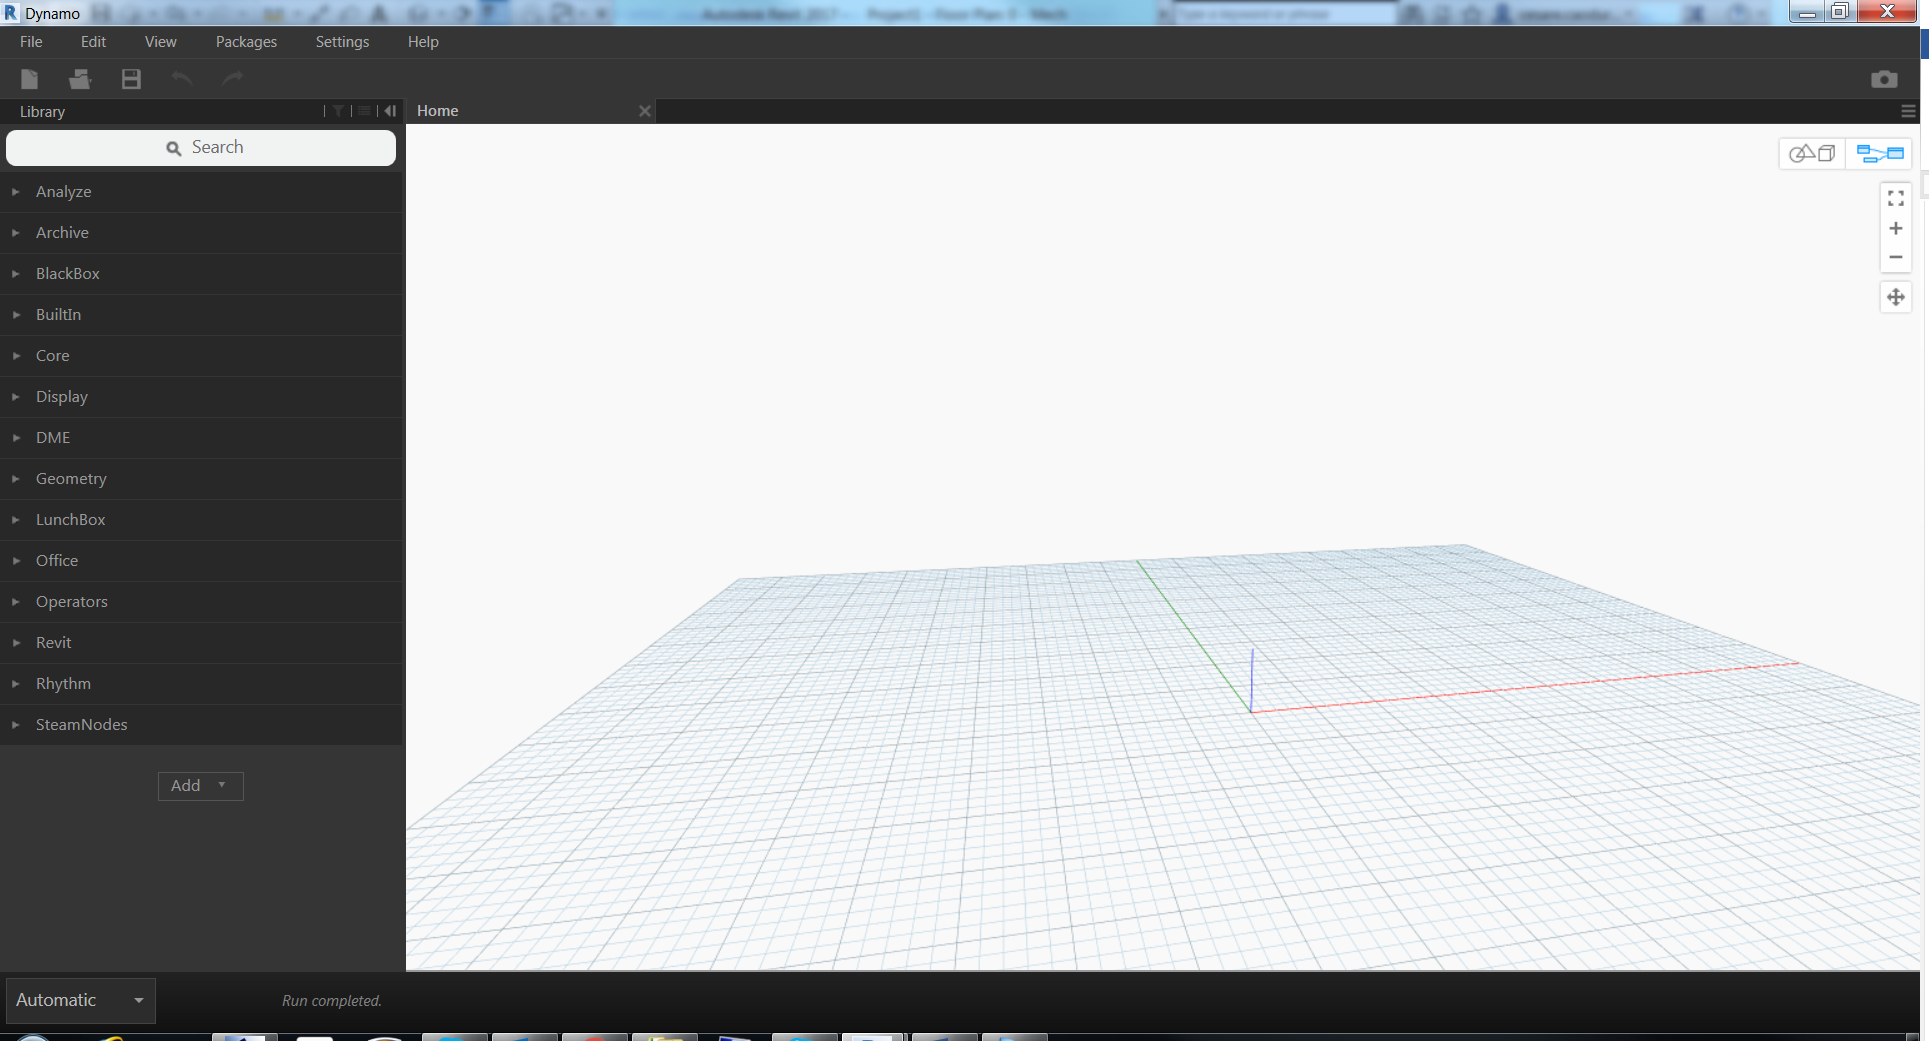
Before starting turn Dynamo in Manual mode from the bottom left, this will prevent couple of crash if you write the wrong code or choose wrong nodes
 Keep always in your mind the shape, draw the shape on a piece of paper and start to think how to draw.
I’ll use one way to create the shape but remember that this is not always the perfect way and of course is not the only way to achieve the result.
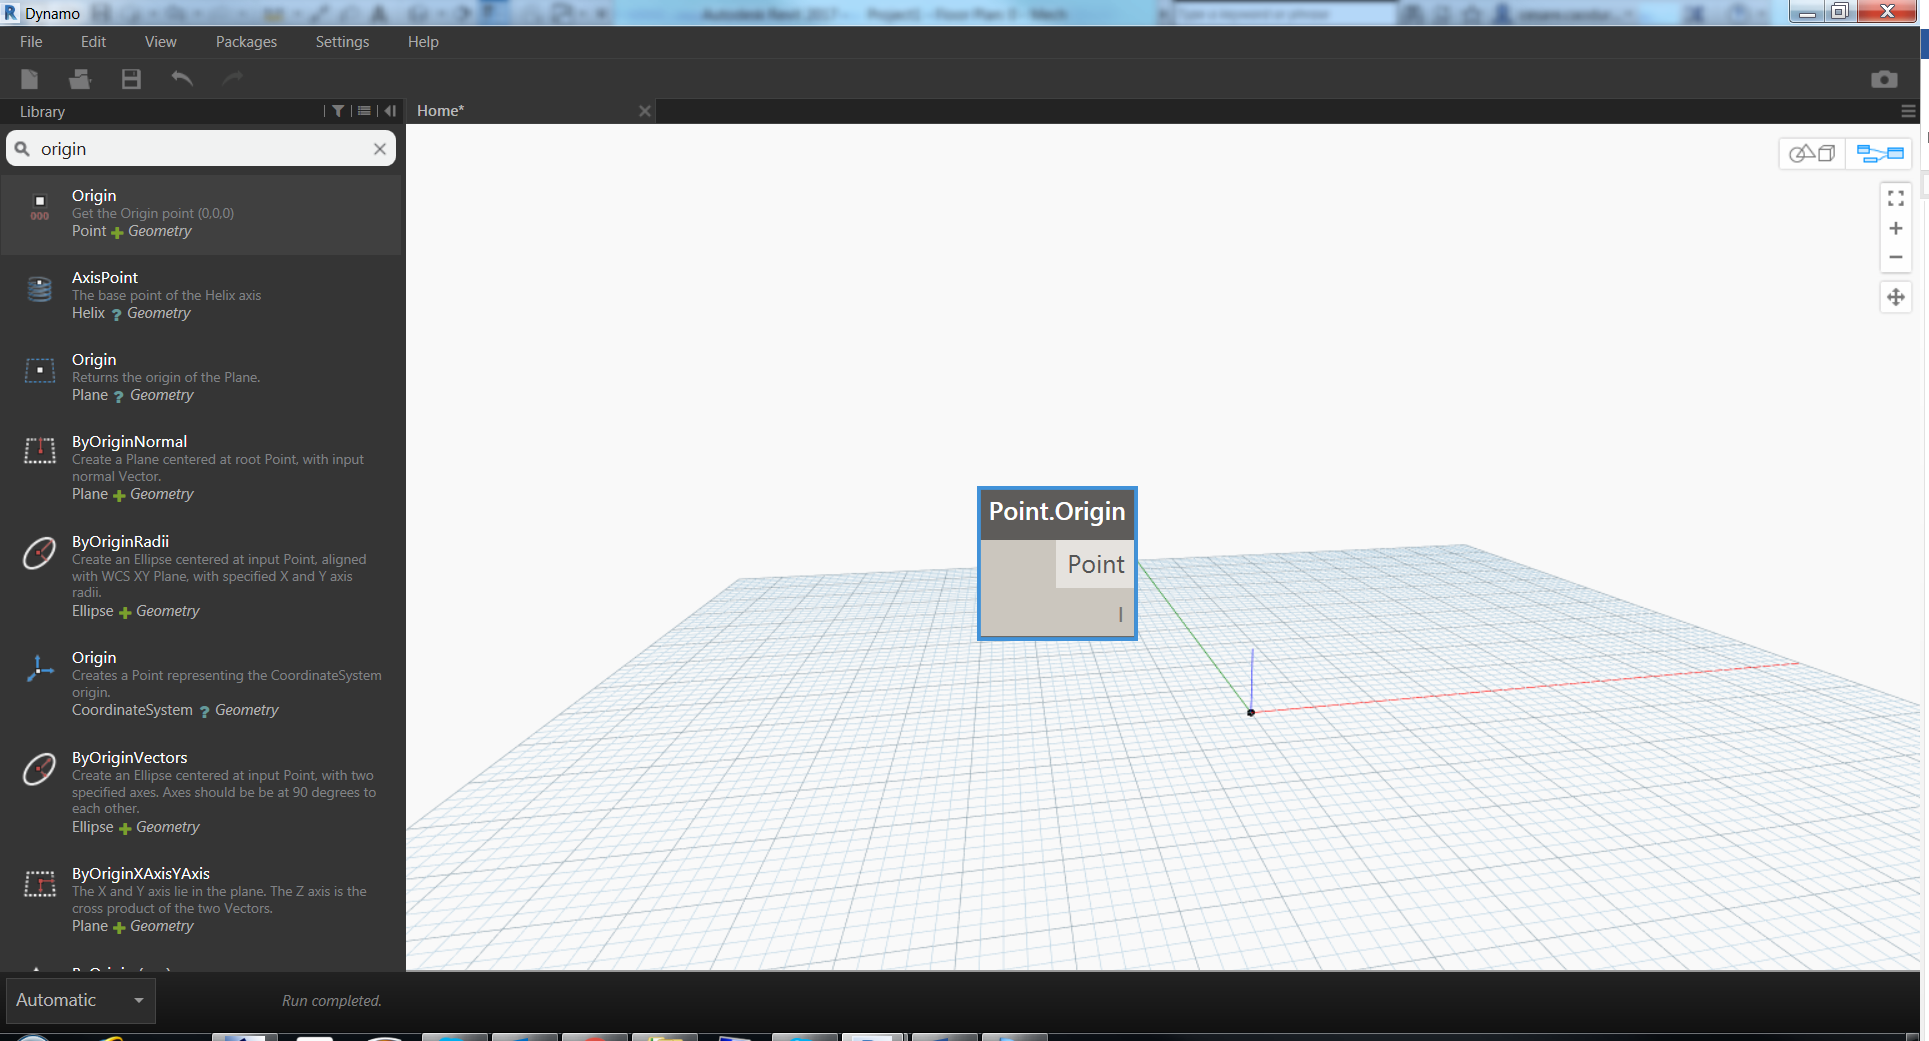
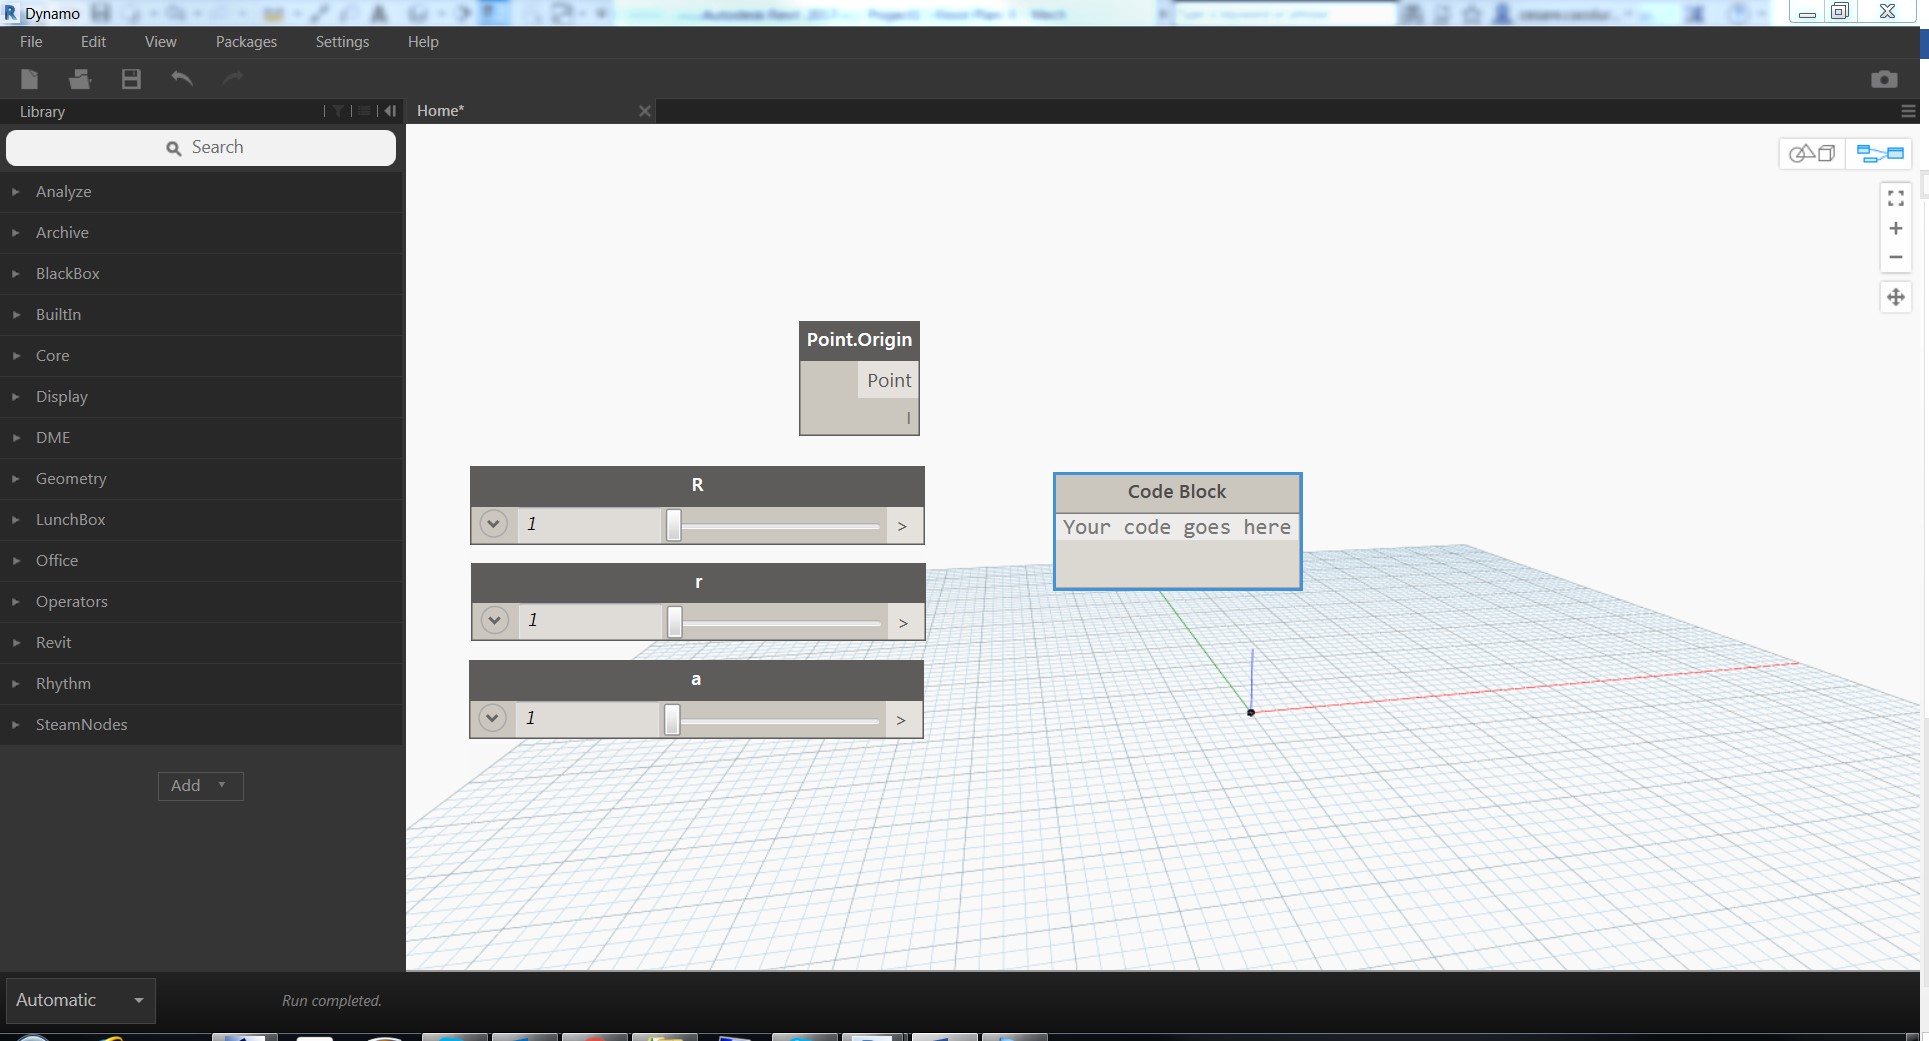
I’ll start to place all the center point for the circles that I need. The big circle will be located at coordinates (0,0,0) and from this I’ll calculate all the others center points.
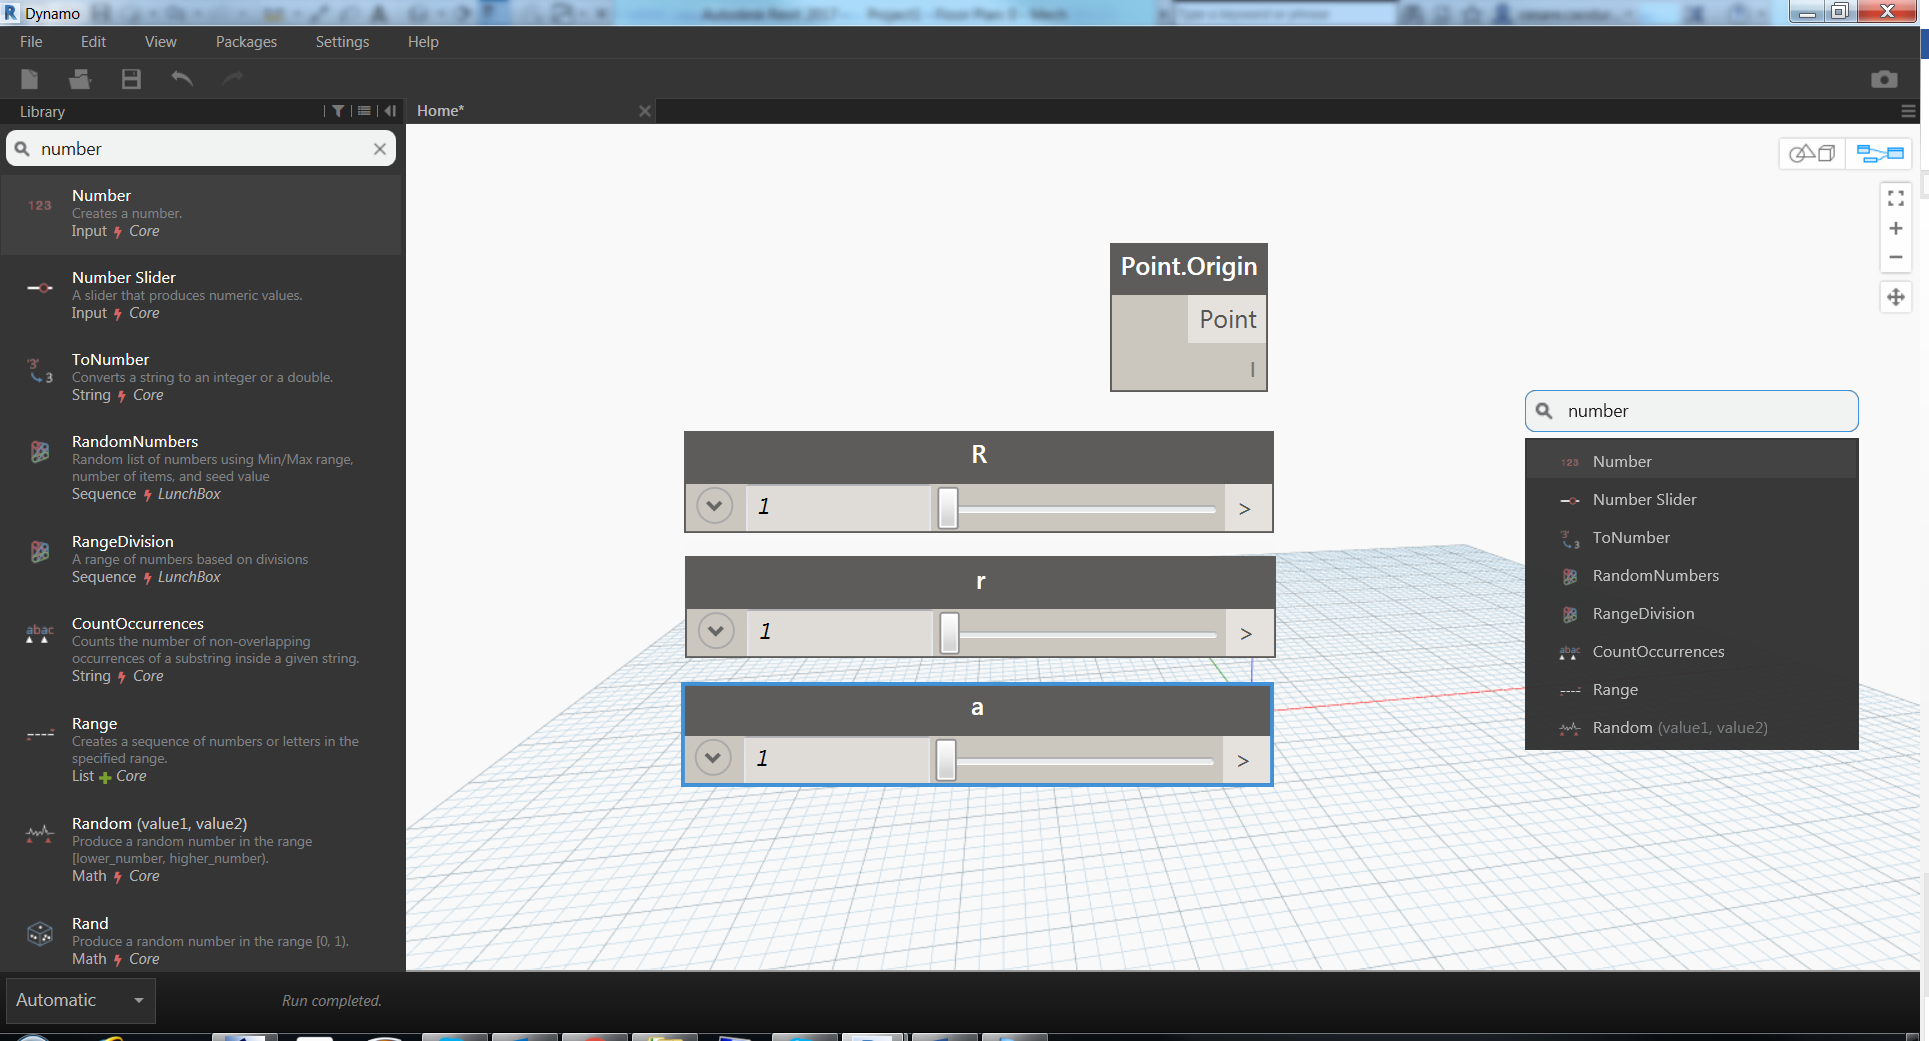
 Then a couple of number slider to be select variables. Is very easy to select nodes, just starting to write the name of the node in the search toolbar on the left or with right click in the canvas.
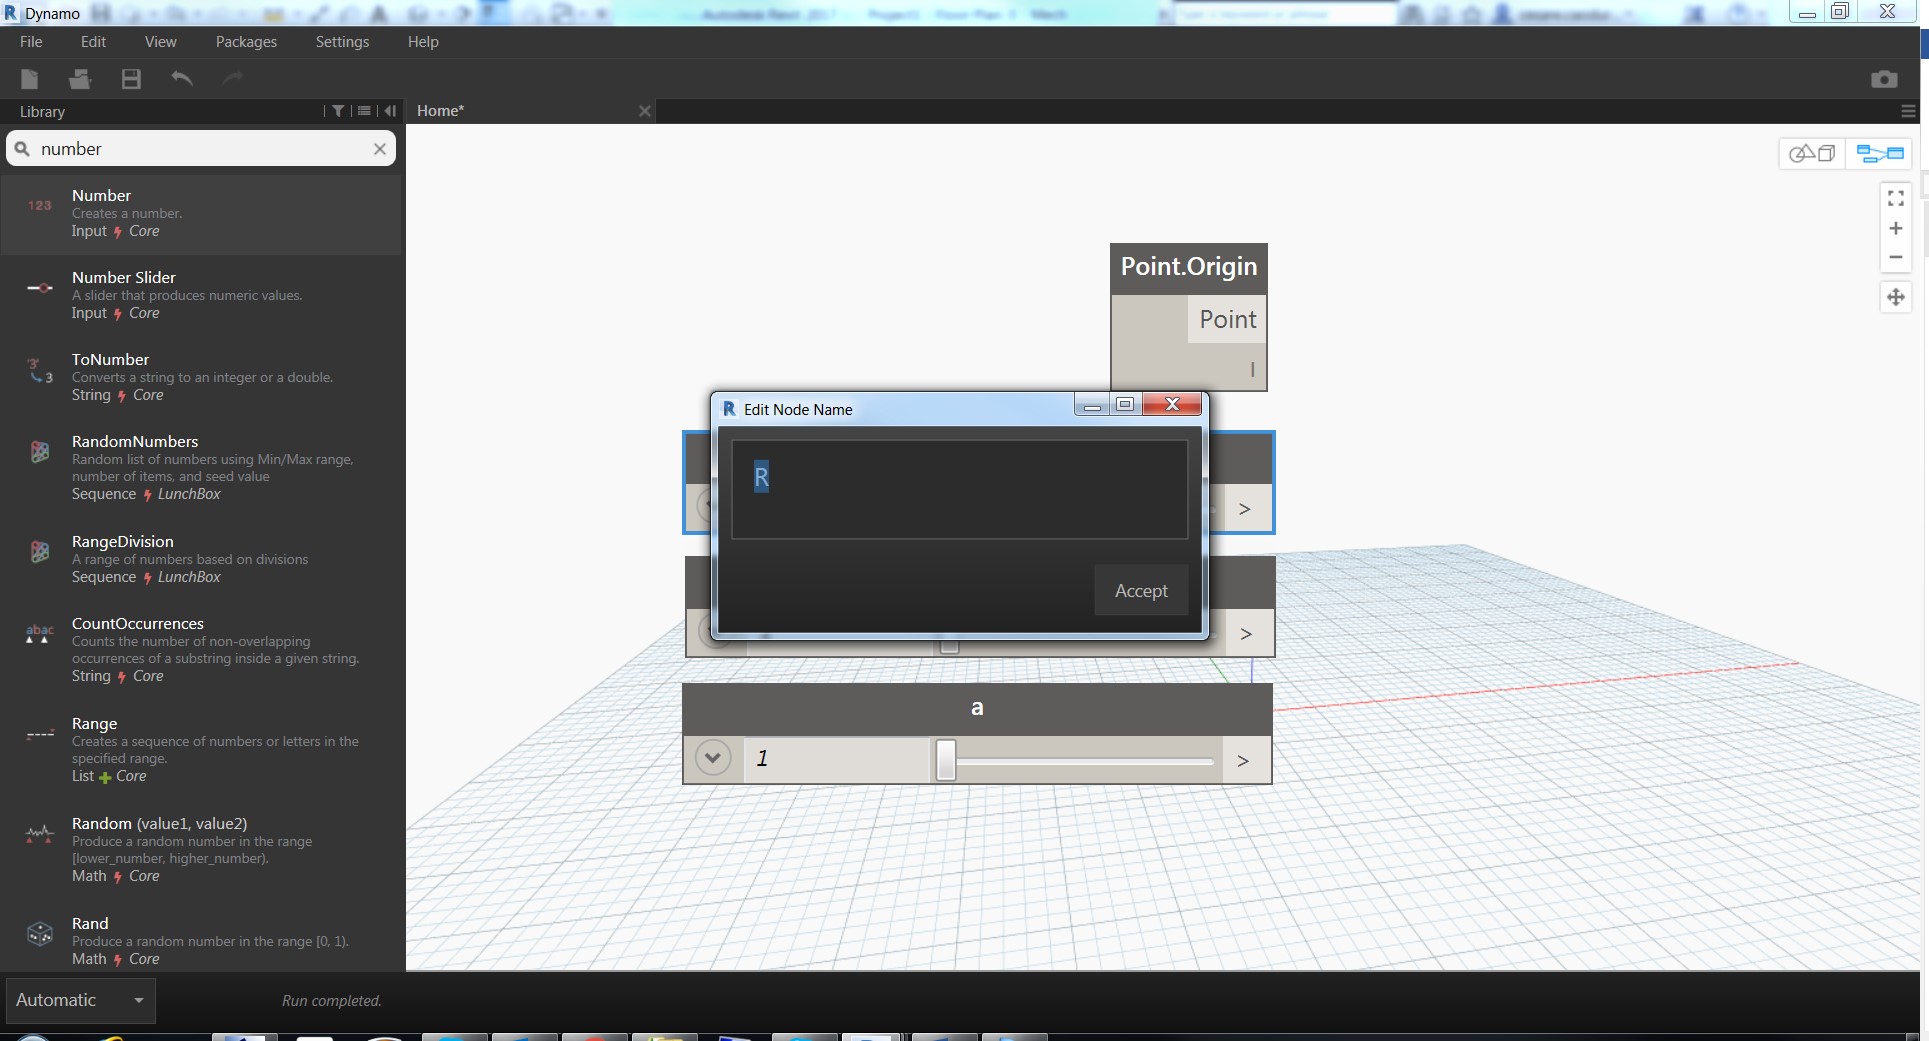
 Then double click on the node to rename it and give a good label.
 Easy!
Easy!
Now the firs appointment with Code Block, this is one of the most important nodes and is the way to easily create formulas. I’ll not concentrate on the explanation of the code block, all the documentation is available on the dynamo website.
To create an empty Code Block just double click inside the canvas.
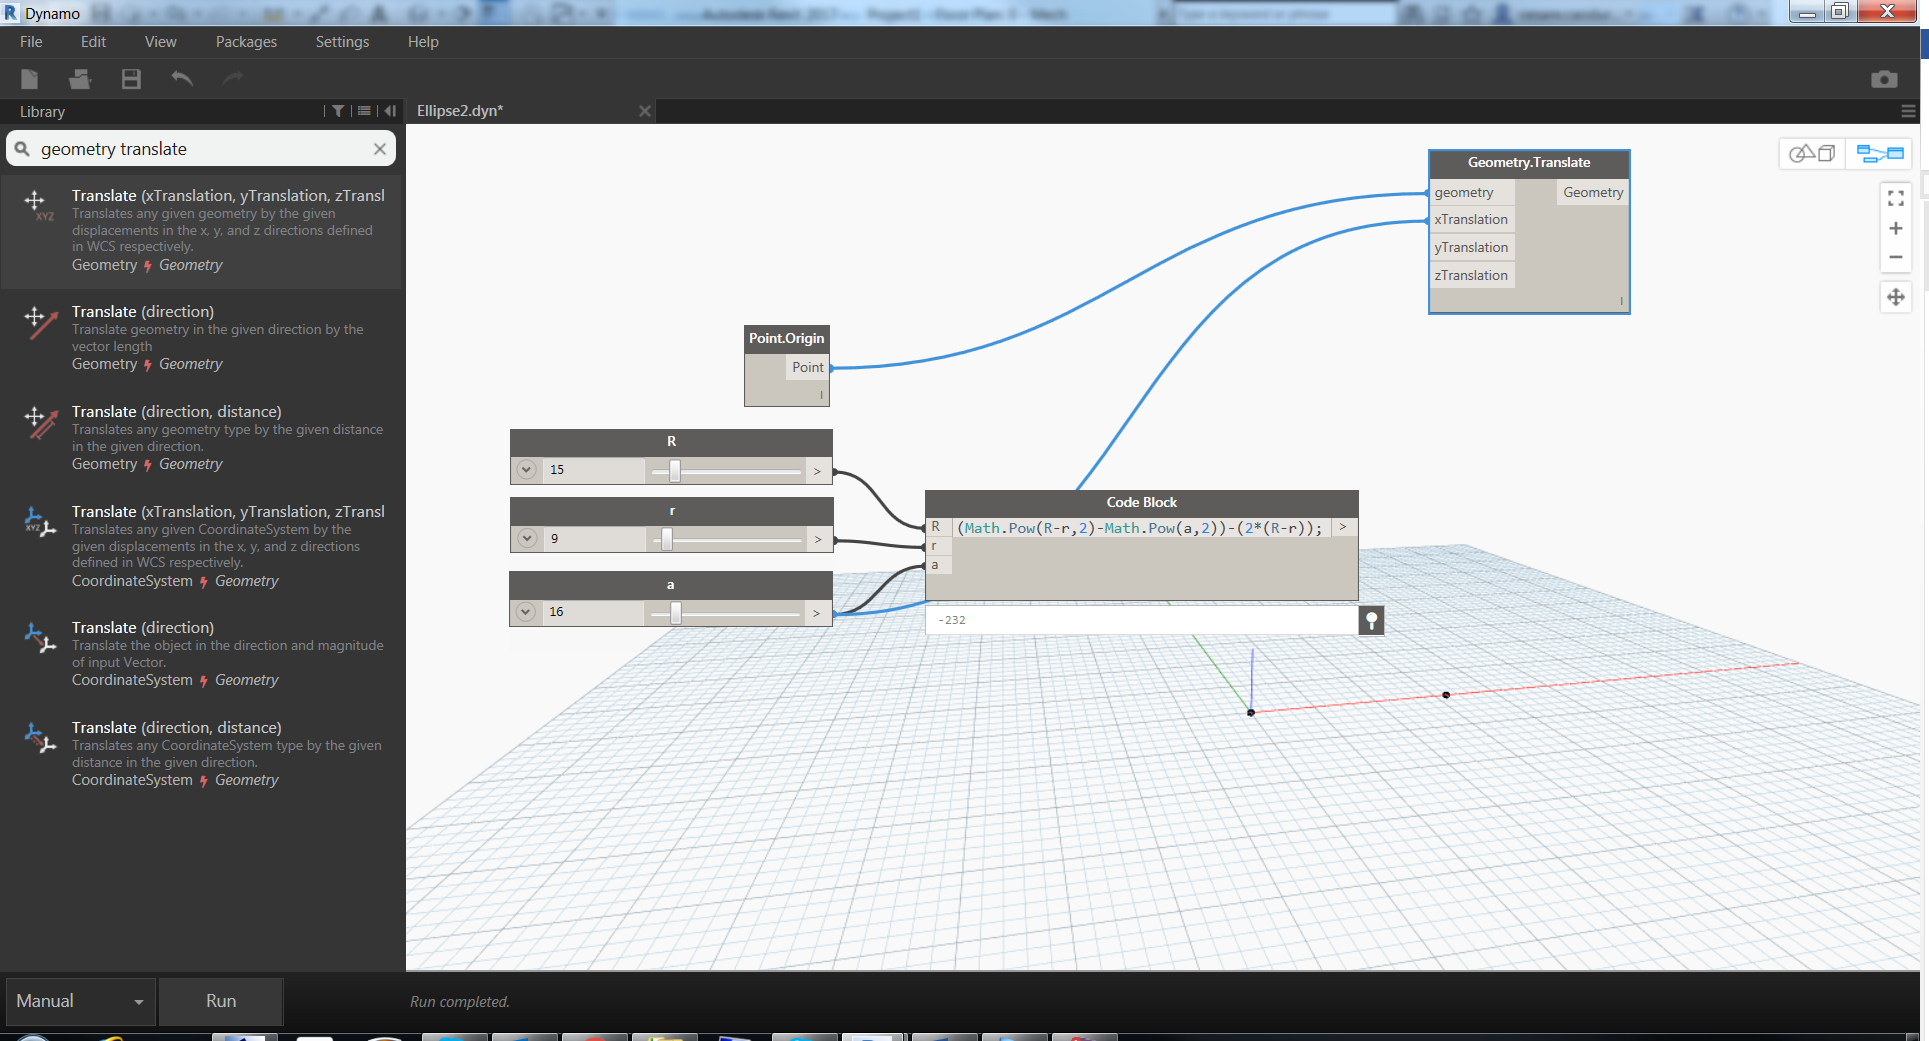
 Then write the formula inside the code space. I’ll use some mathematical function available in Dynamo to calculate the squared of a given number. All the mathematical functions are provided by the Math library and to access to a specific function the syntax is Math.FunctionName__().
In this case the power function is Math.Pow(n,powerValue), so the formula will be:
(Math.Pow(R-r,2)-Math.Pow(a,2))\/(2_(R-r));
The code block is very powerful and it converts all the variables into input slots according to the name used in the formula. Now is time to connect nodes and Run!
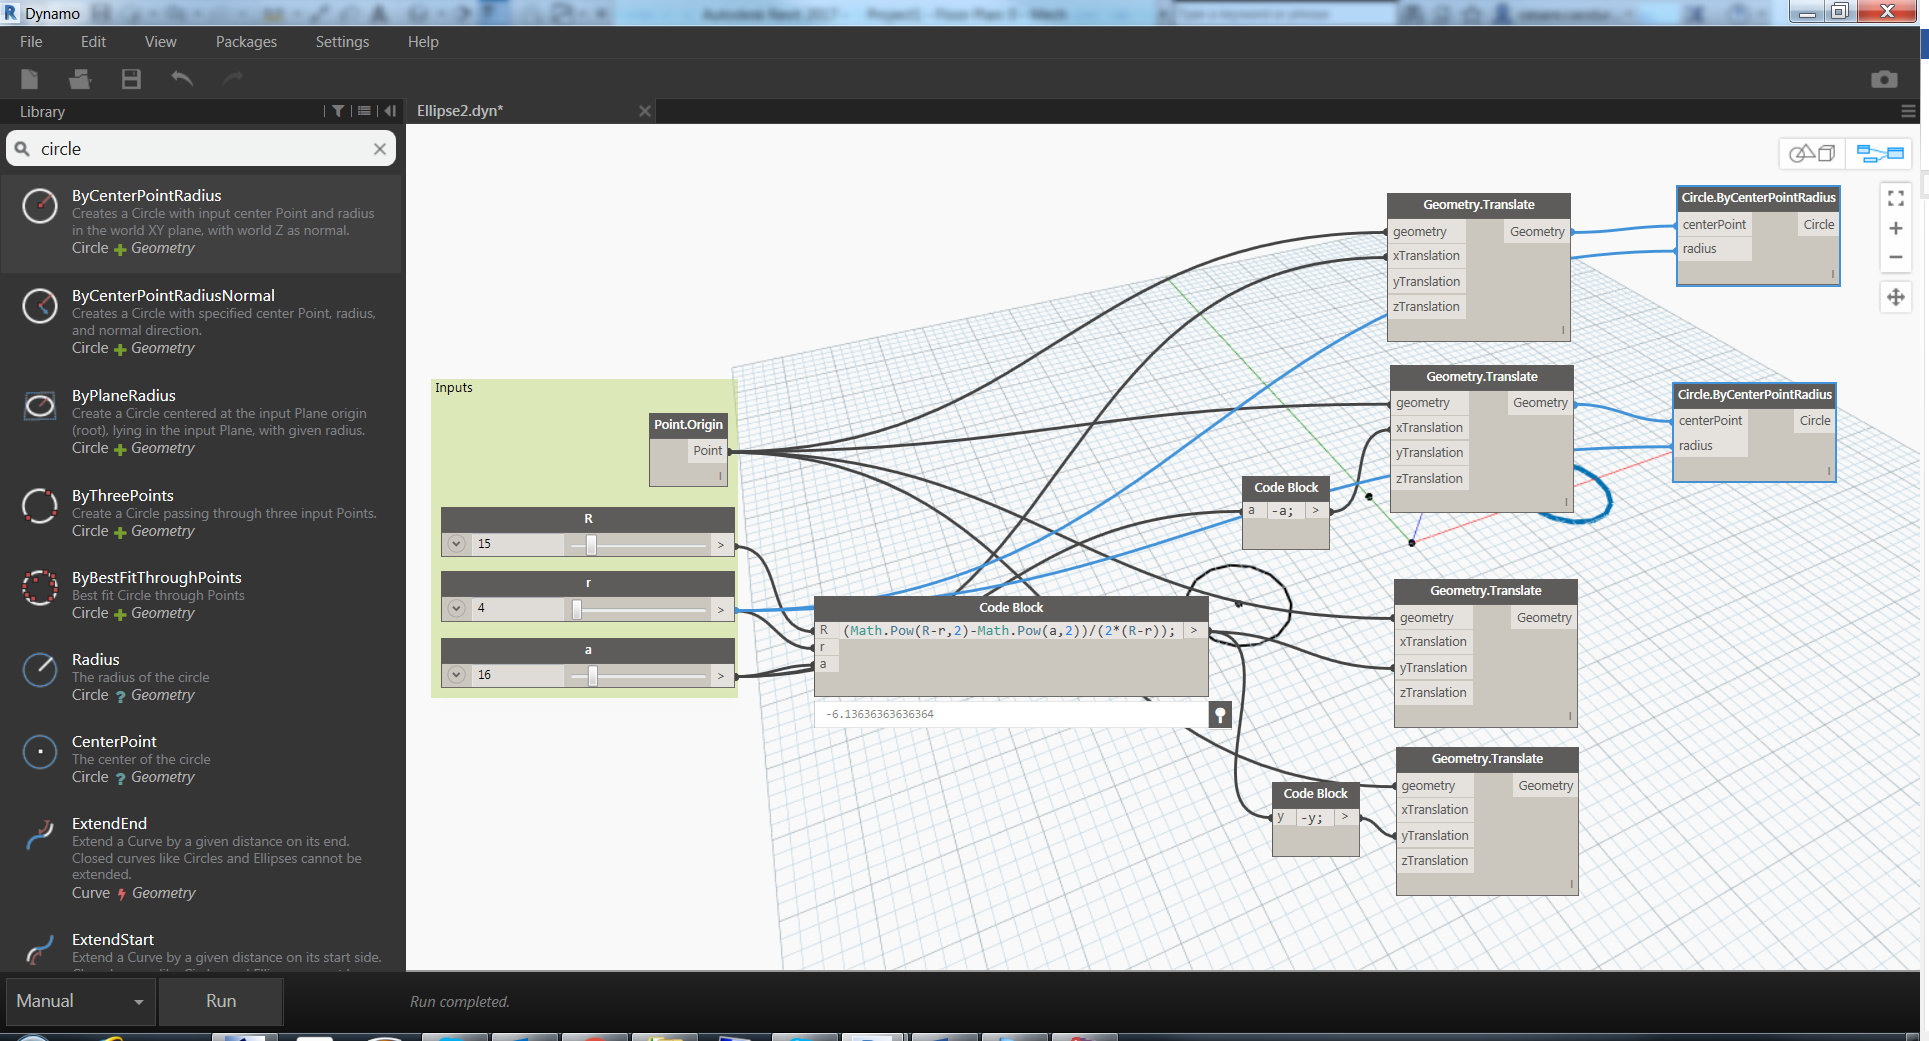
Ok the formula is working, the first center point is in the origin and now we can calculate the position of small circles center points. A new node is coming and is the _*Geometry Translate node.
In the geometry we need to fill the geometry that we want to translate, and in the other slots the value of the translation in all the three directions. Is important to note that this node is not moving the geometry but a copy of the geometry.
Simple, we need to move the origin point by a value of “a” in both positive and negative X.
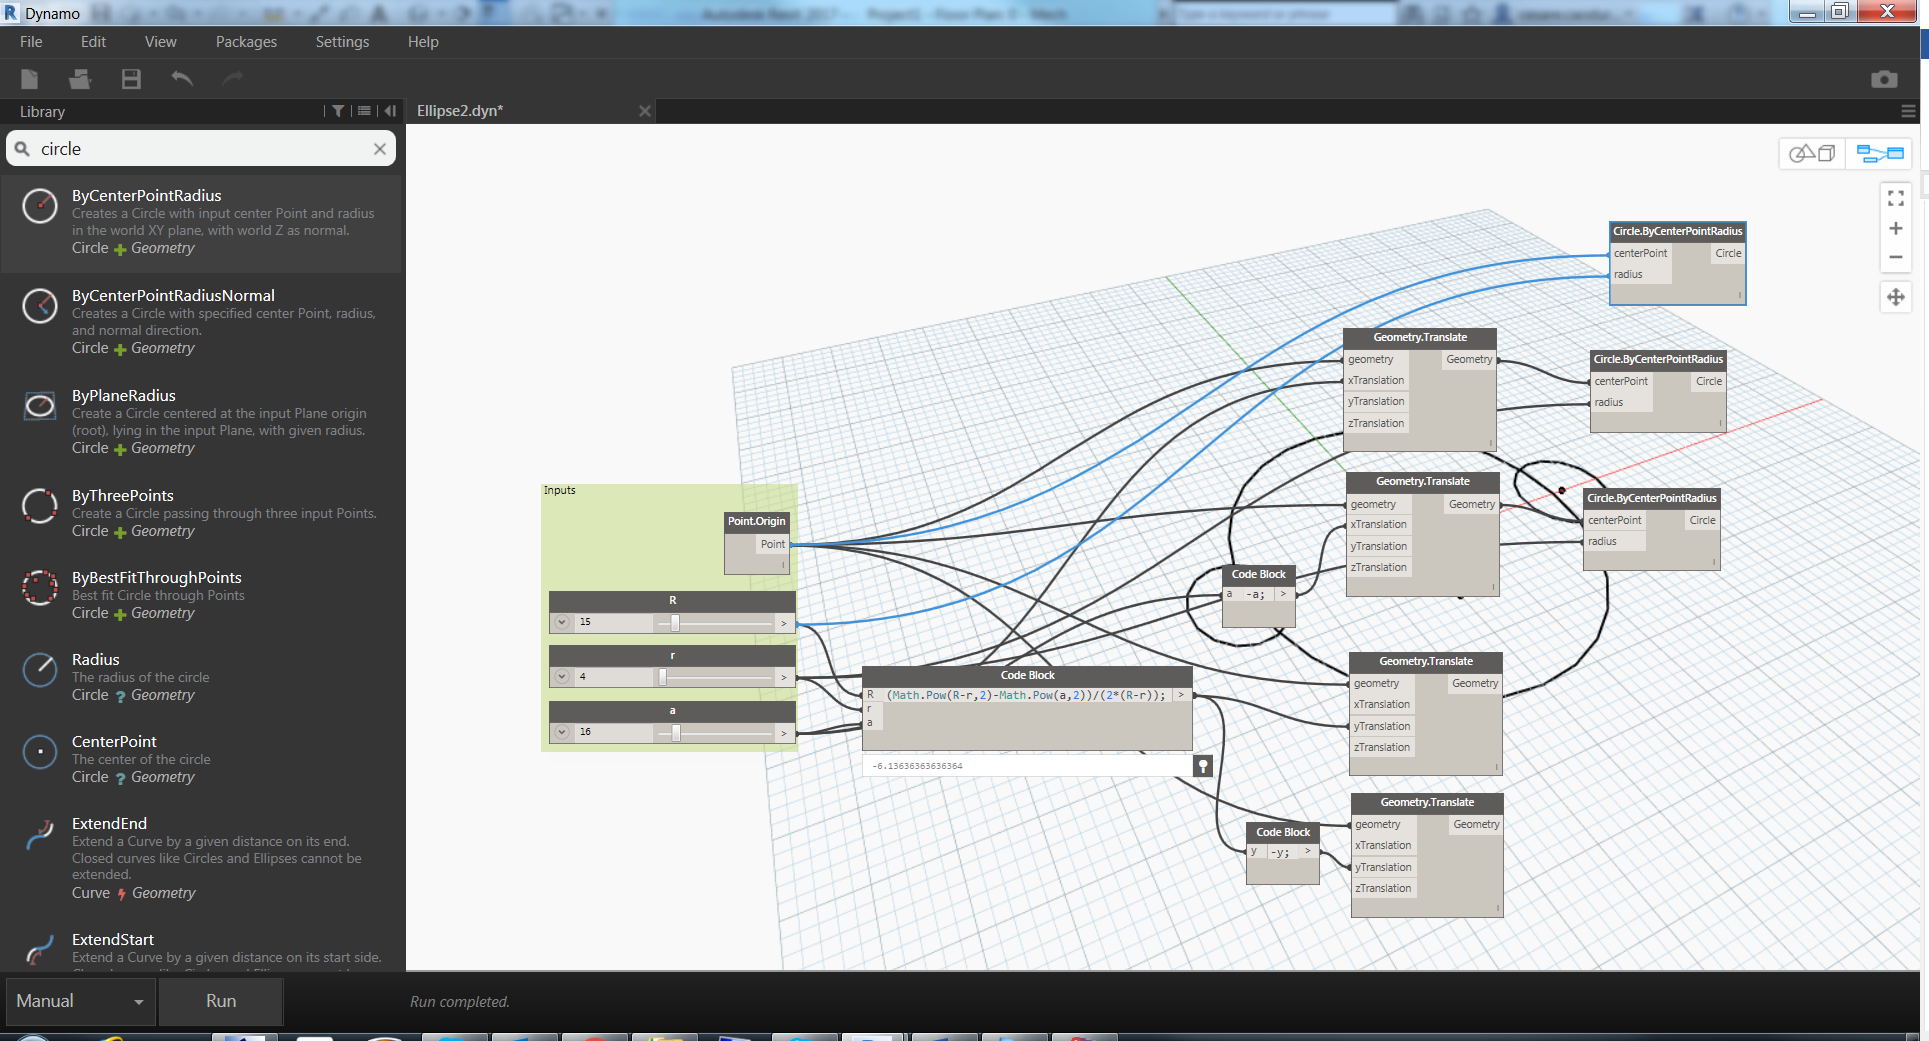
 This is the real power of node based workflow, to be able to reuse value for multiple nodes and keep both logical and physical connections. Let’s see if you understood the process: how to do now the negative translation?
Yes…Code Block!
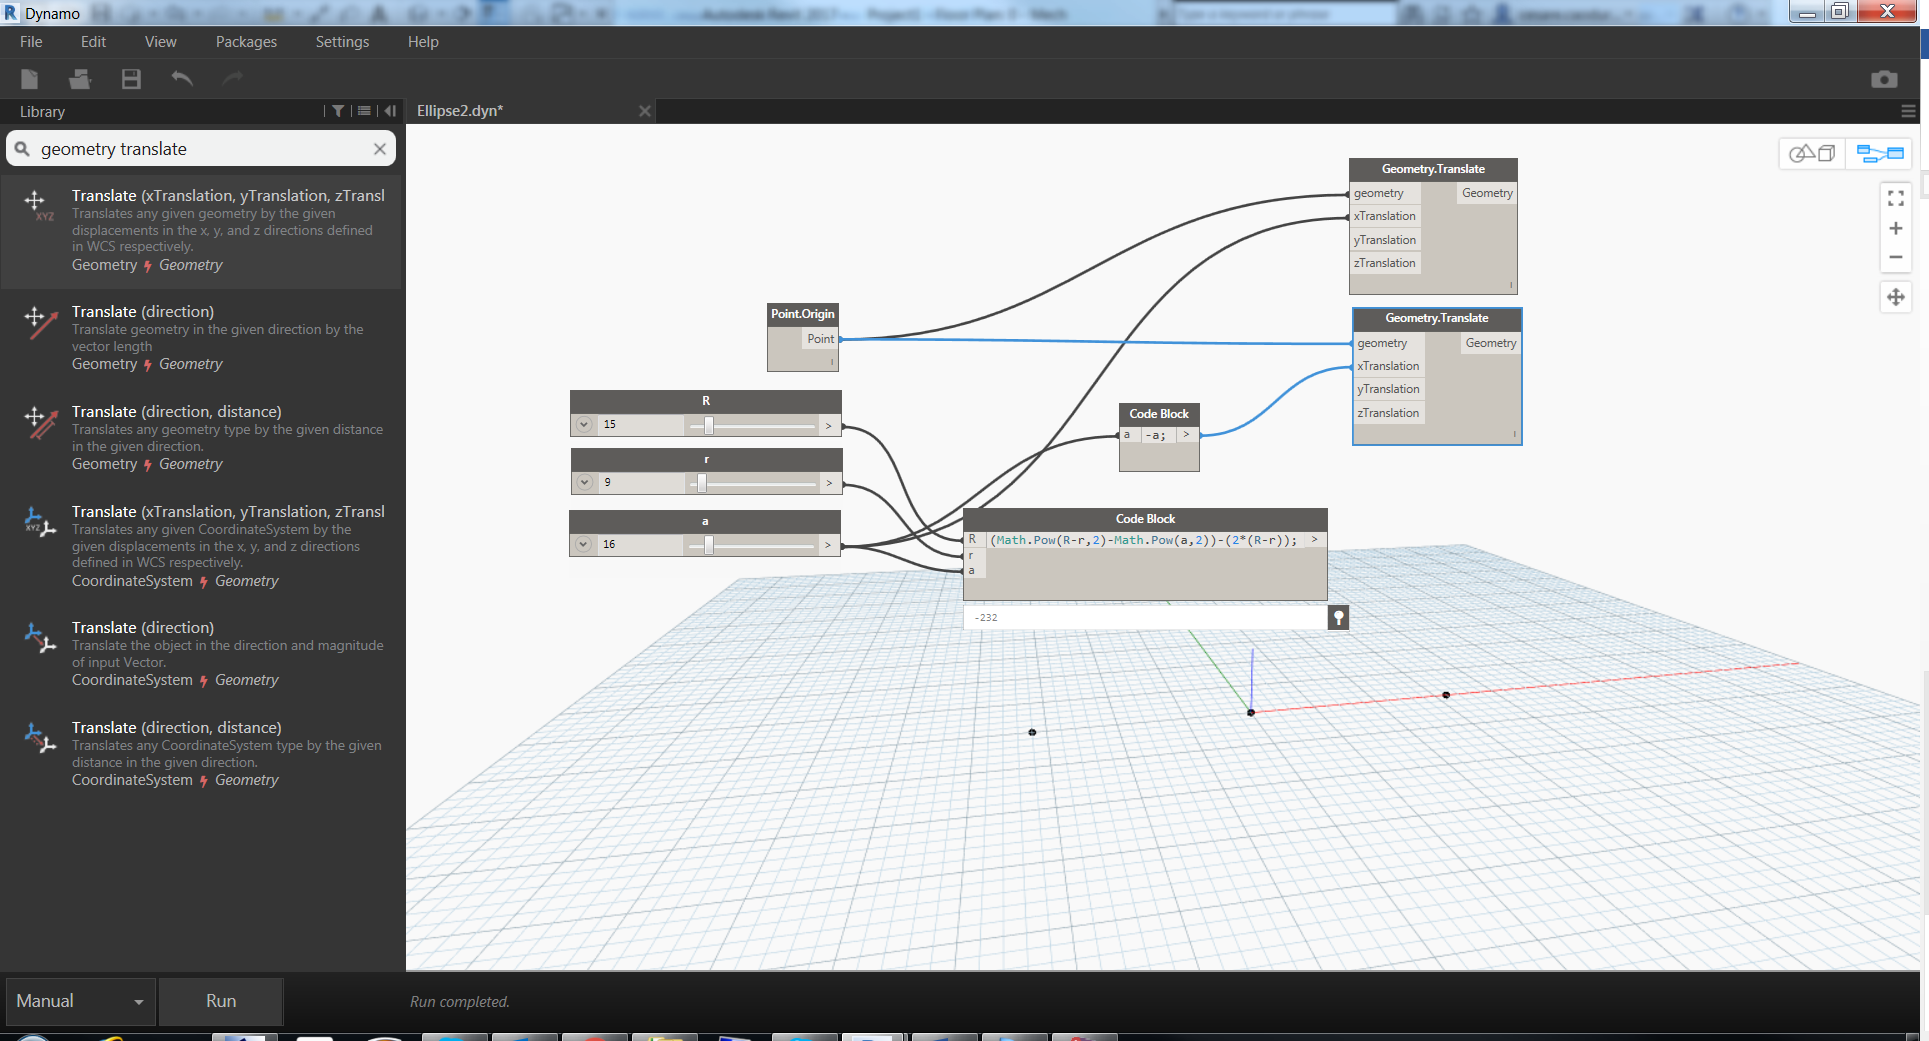 Do you think that the net of nodes is becoming complicated? This is still nothing, but everything as a logic.
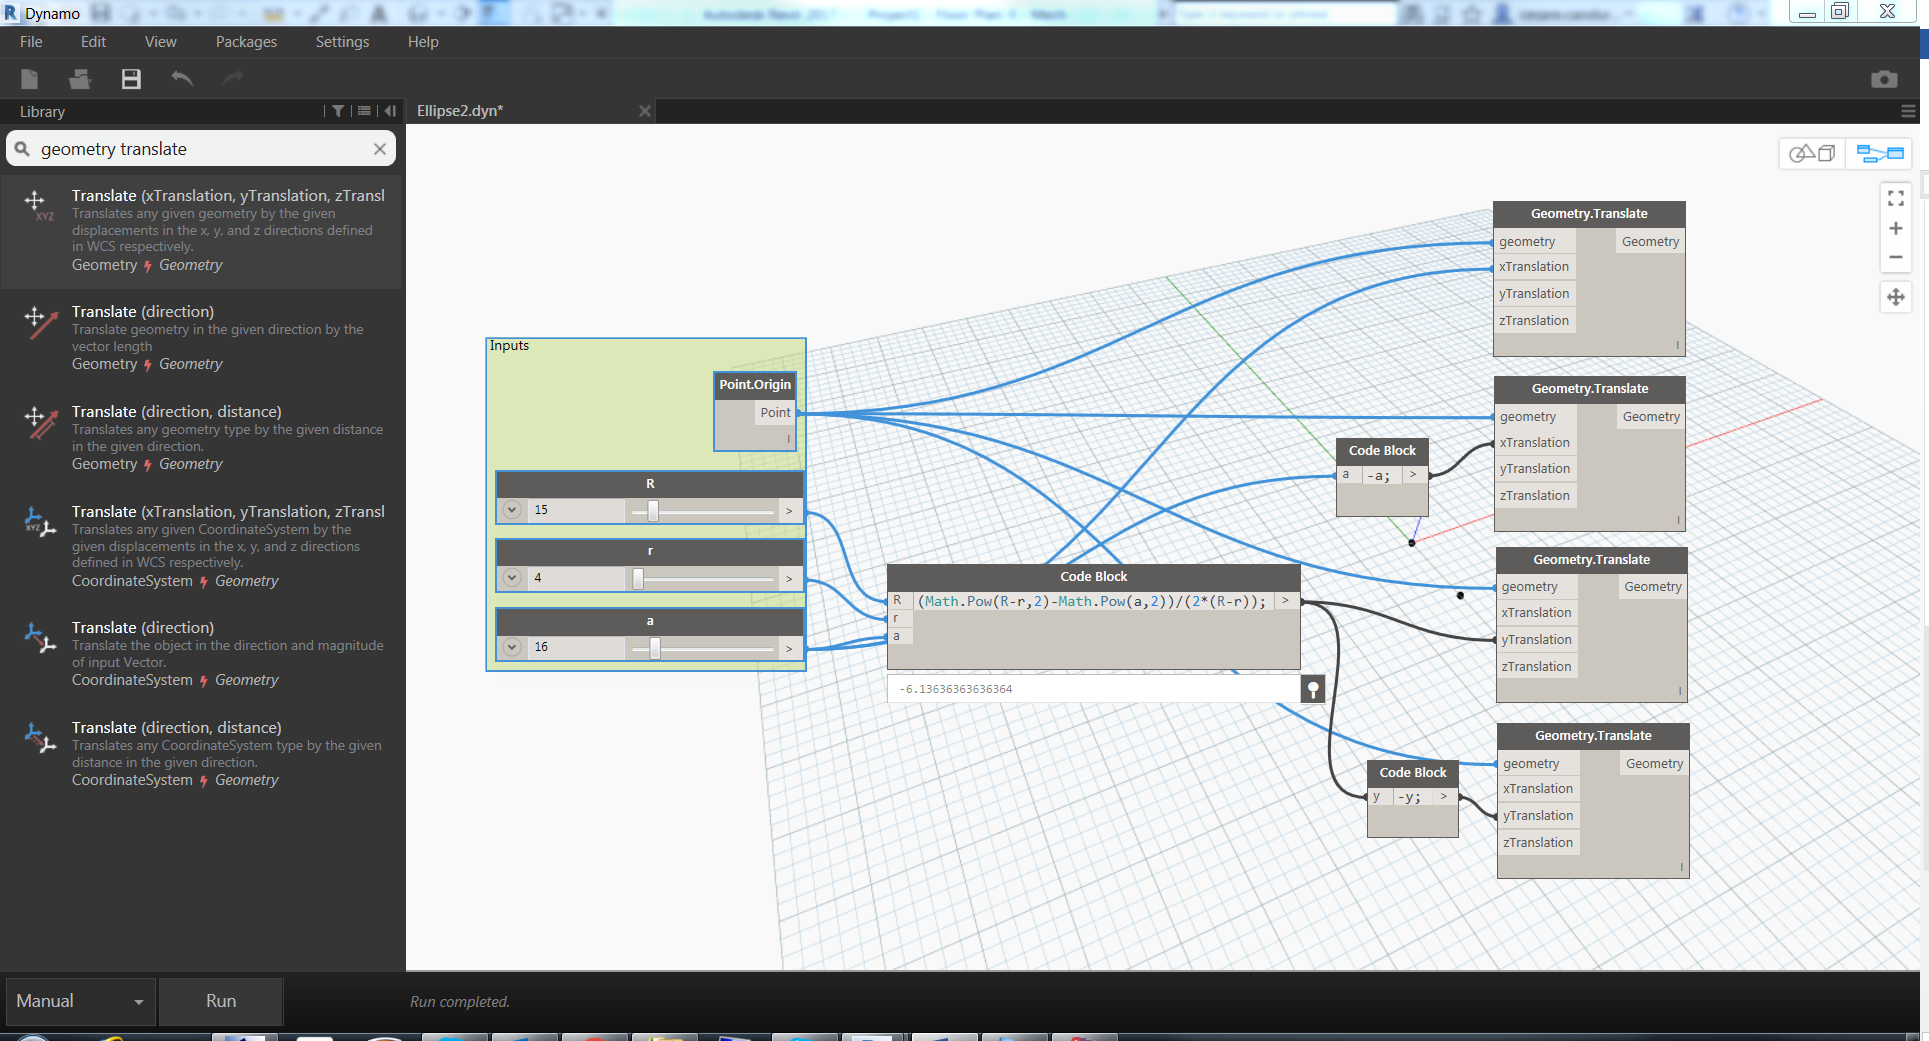
Now the others center points, the translation this time will be in the Y Axis with a value of y coming from the formula.
 The first part is finished and we can start to group nodes to keep a clean and organized workspace. Just select a bounce of nodes and CTRL+G or from the menu Edit Create Group, then we can change font size and color of the node.
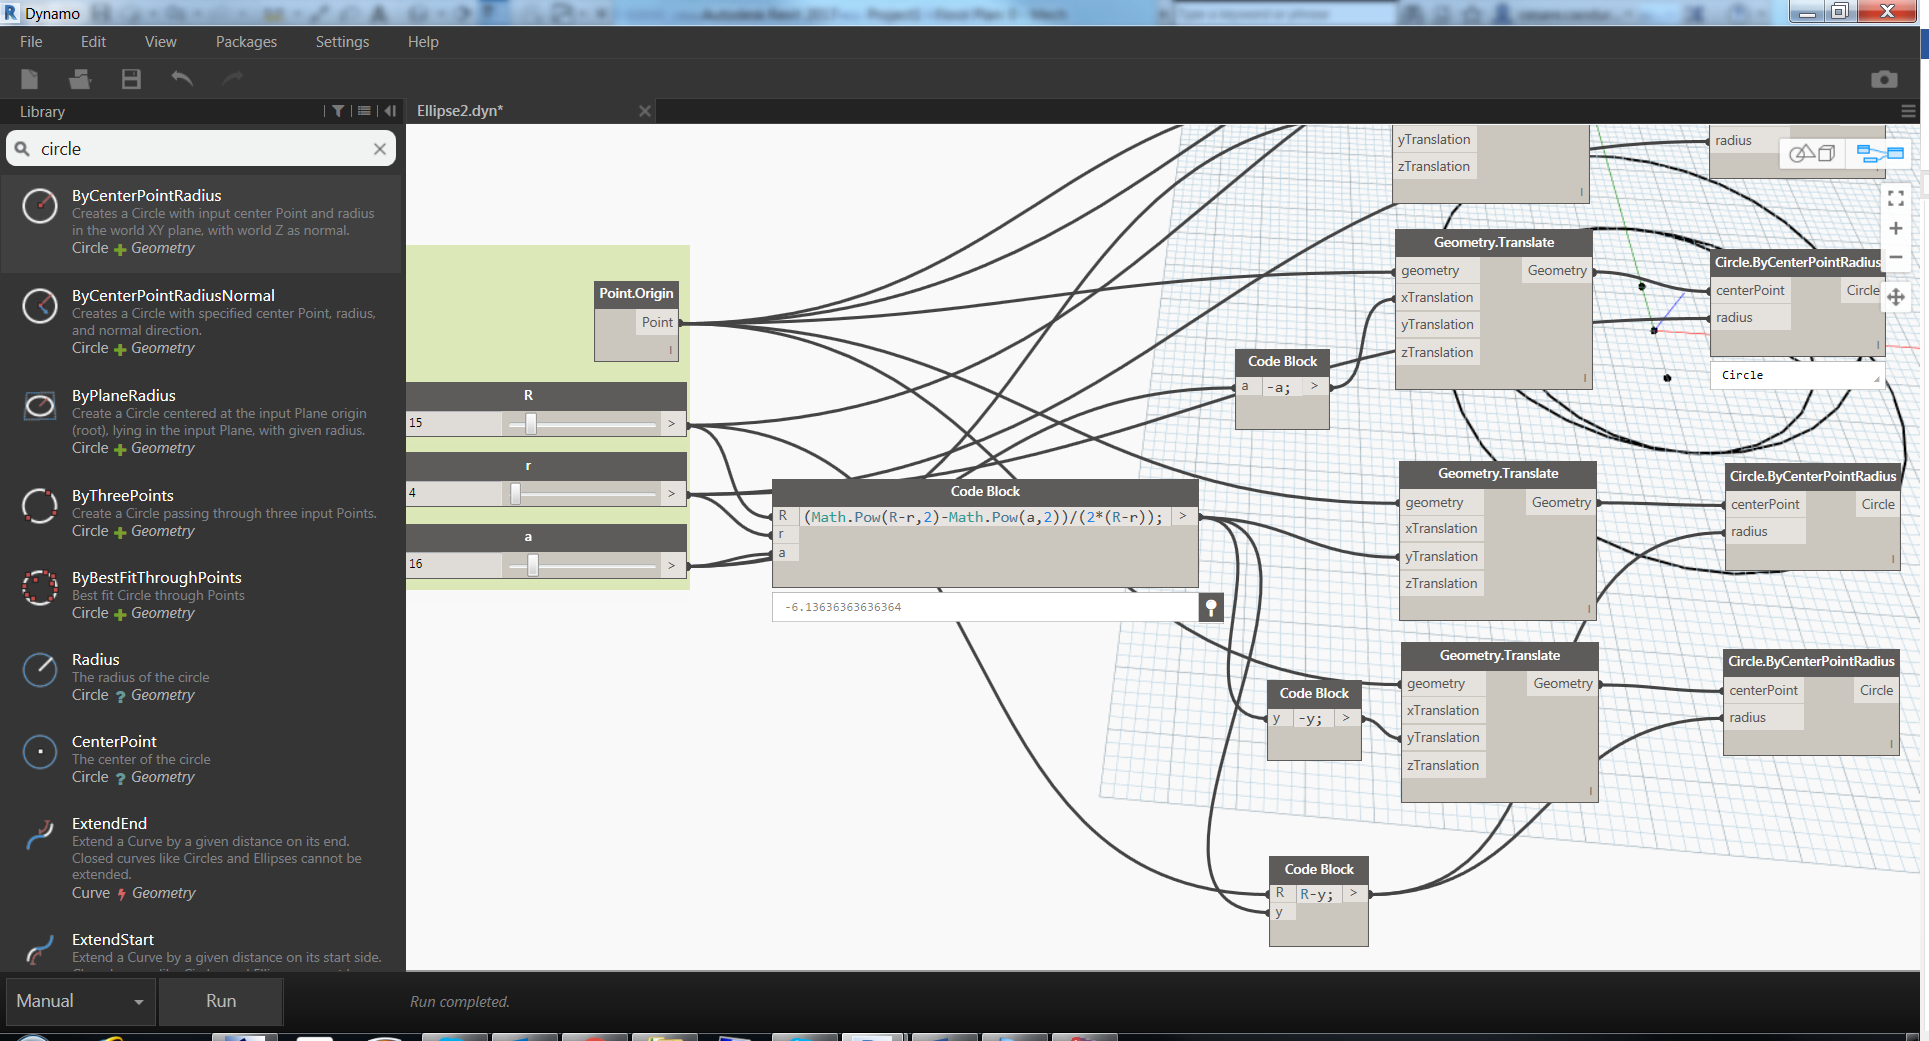
 Ready for the next step? Of course. Now is time to create circles using the circle node. There’re many ways to create a circle in Dynamo but for this exercise the simplest one is enough, just we need a center point and a radius. We have all these information, the center point is the one calculated at the beginning with x translations and the radius is the small radius, so we can fill with “a” value both of them.
 And of course the big circle in the center origin with the biggest radius.
 Now we need the two external circles tangent to both the small radius circles and the center circle. The center points will be the points calculated with the “y” translations and the radius will be P = R – y.
 After the run the result will be similar to the picture. To navigate in the background canvas use CTRL+B or the small button on the top right of the window.
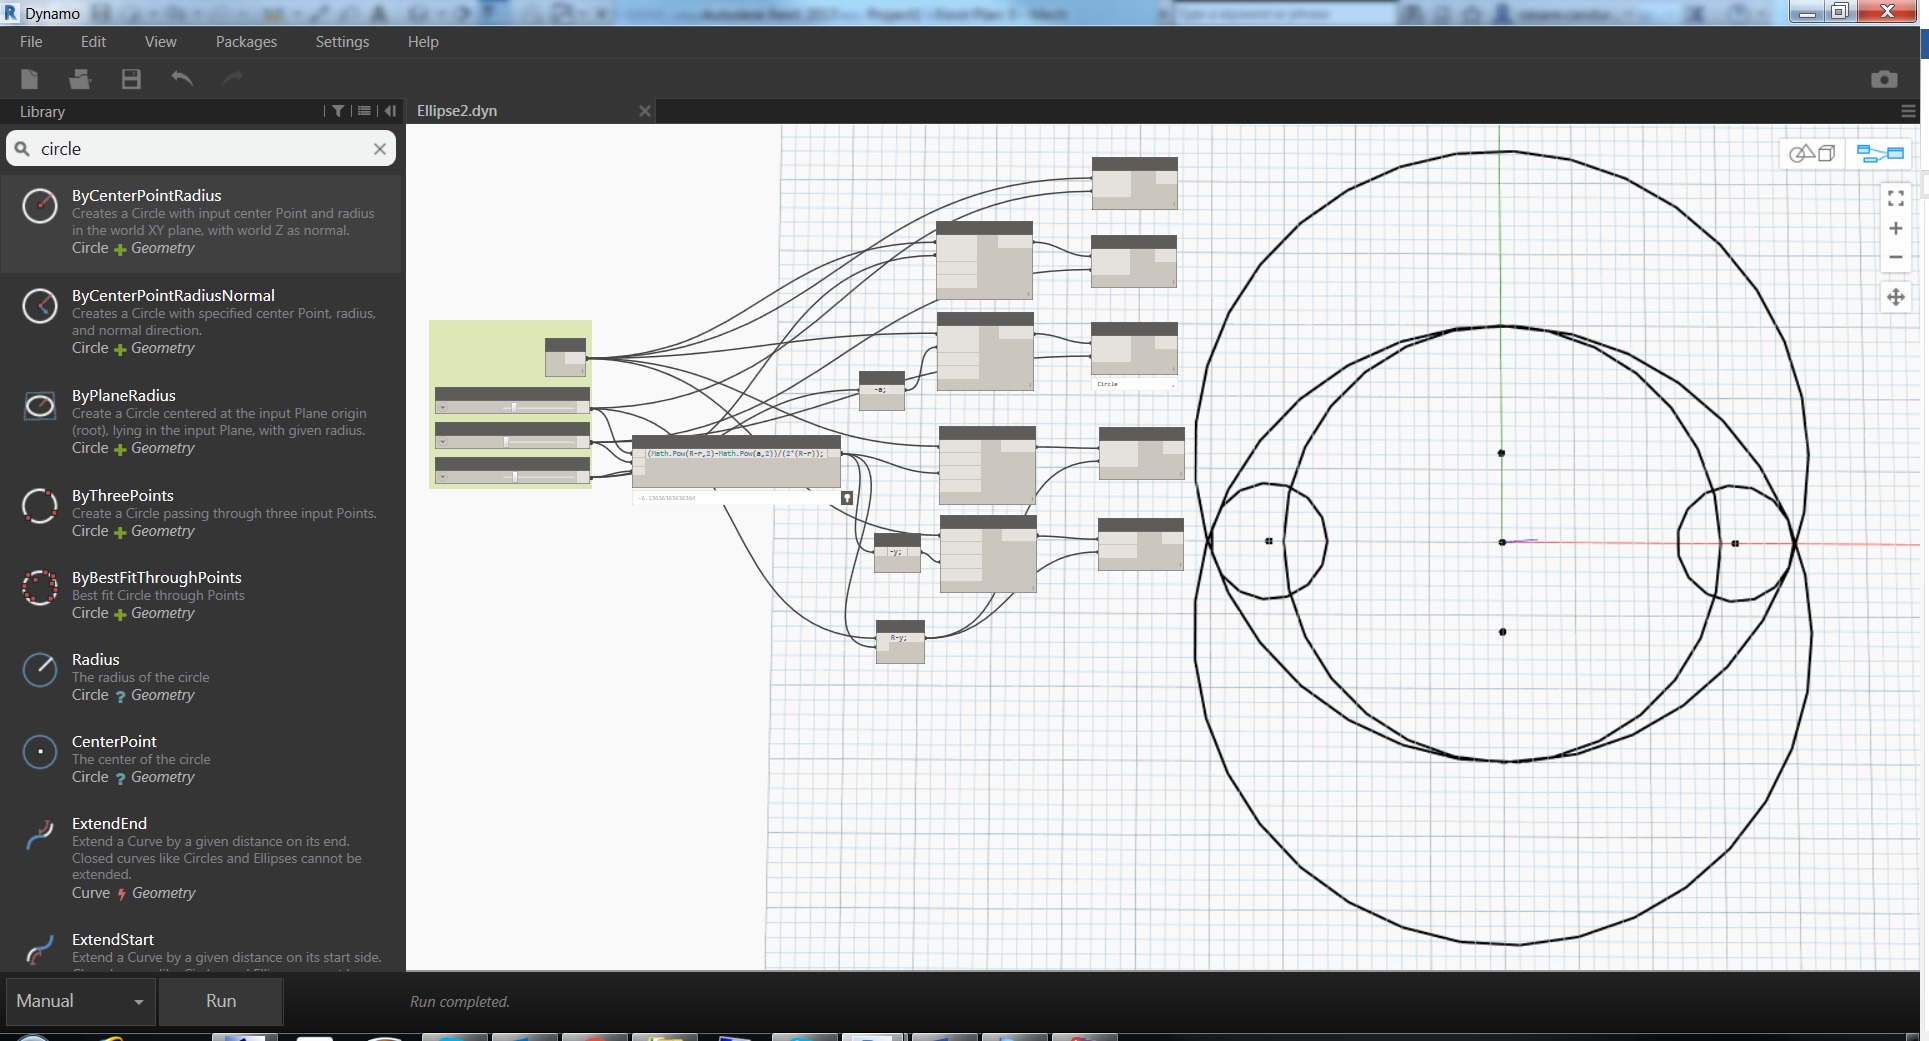 Yes…the basic construction shapes are finished! Take a rest and drink you coffee, I’ll do the same.